Creating a customized photo frame for Father’s Day is a heartfelt way to celebrate the special bond you share with your dad. Whether you’re a seasoned crafter or a beginner, this project offers a personal touch that store-bought gifts often lack. Let’s delve into a comprehensive guide to crafting a unique photo frame that your father will cherish.
Materials Needed
Before you begin, gather the following materials:
- Frame Base: You can use a pre-made wooden frame or construct one using materials like craft sticks or cardboard.
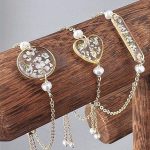
- Decorative Elements: Paints, markers, stickers, buttons, or any embellishments that resonate with your dad’s interests.
- Photograph: Choose a memorable photo that captures a special moment.
- Adhesives: Glue, double-sided tape, or hot glue gun for attaching decorations.
- Tools: Scissors, ruler, and pencil for measurements and cutting.
Design Ideas
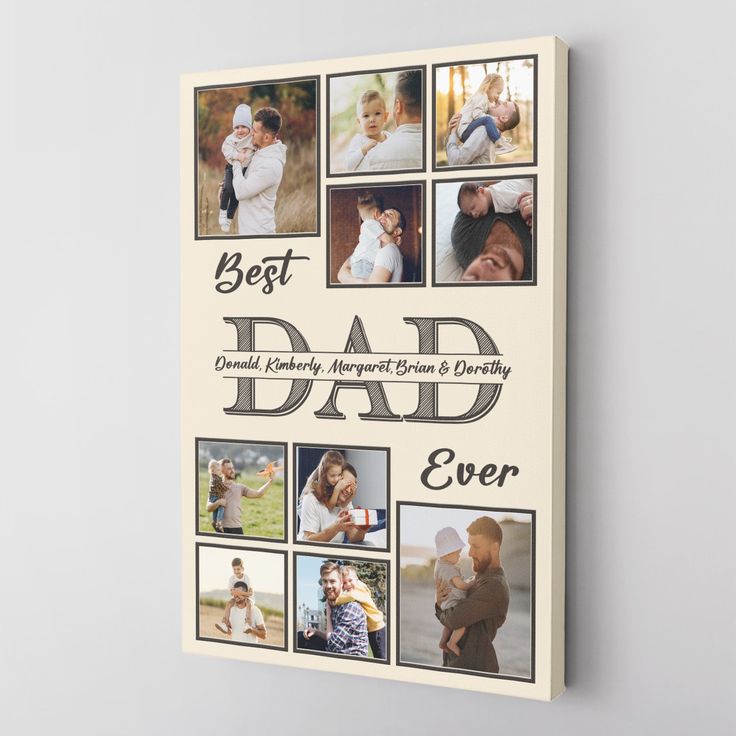
1. “We ❤️ Dad” Photo Collage
Create a collage spelling out “We ❤️ Dad” using individual photos for each letter. This design not only showcases cherished memories but also forms a heartfelt message. You can use photo editing software or manually arrange printed photos in the desired shape.
2. Themed Decorations
Tailor the frame’s decorations to your father’s hobbies or interests. For instance, if he loves fishing, incorporate miniature fishing rods or fish-shaped stickers. If he’s a music enthusiast, add musical notes or instrument cutouts.
3. Handprints and Footprints
For younger children, adding handprints or footprints using non-toxic paint can make the frame extra special. It’s a delightful way to capture a moment in time.
4. Incorporate Quotes
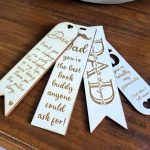
Add meaningful quotes or messages that resonate with your relationship. Handwrite them or use printed text for a polished look.
Step-by-Step Guide: Craft Stick Photo Frame
Materials Needed:
- Craft sticks (popsicle sticks)
- Paints and brushes
- Decorative items (buttons, stickers, etc.)
- Glue
- Photograph
- Cardboard backing.
Instructions:
- Paint the Craft Sticks: Choose colors your dad loves and paint the sticks accordingly. Let them dry completely
- Assemble the Frame: Lay out the sticks to form a square or rectangle, overlapping the ends for stability. Glue them together and allow to dry.
- Attach the Photo: Cut the photo to fit the frame’s opening and glue it to the back of the frame.
- Add a Backing: Cut a piece of cardboard slightly larger than the photo and glue it behind the photo for support.
- Decorate: Embellish the frame with your chosen decorations, ensuring they are securely attached.
- Add a Stand or Hanger: Attach a stand made from folded cardboard or a string loop for hanging.
Presentation and Gifting
- Packaging: Wrap the frame in decorative paper or place it in a gift bag with tissue paper.
- Personal Note: Include a handwritten letter expressing your appreciation and love.
- Accompanying Gifts: Pair the frame with a small gift that complements the theme, like a favorite snack or a book.